
- Internet
- 16.04.2018
- EN
Bernfried Howe: Module Development with Delivery Server
written by Bernfried Howe, 12. December 2012:
One of my favorite topics is to establish a standard structure in OT WSM Delivery Server (aka WSM DS) for modules. But what is a “module”? From a business point of view it is an piece of functionality which solves a certain requirement e.g. a basket for a shopping area or the “my profile” functionality of an intranet. From a technical point of view it is a set of actions and views, which are encapsulated by an central piece of logic.
Objective of this article
With the knowledge of this article you should be able to create Delivery Server modules in a structured way using OT WSM Management Server (aka WSM MS) to maintain and WSM DS to execute them. You will understand the interaction of XML controllers, XML actions, and XSL(T) templates.
Prerequisites
You need a WSM DS instance and a sample project which has activated the project option “Content and group names are only unique within the respective parent group”.
The Requirement
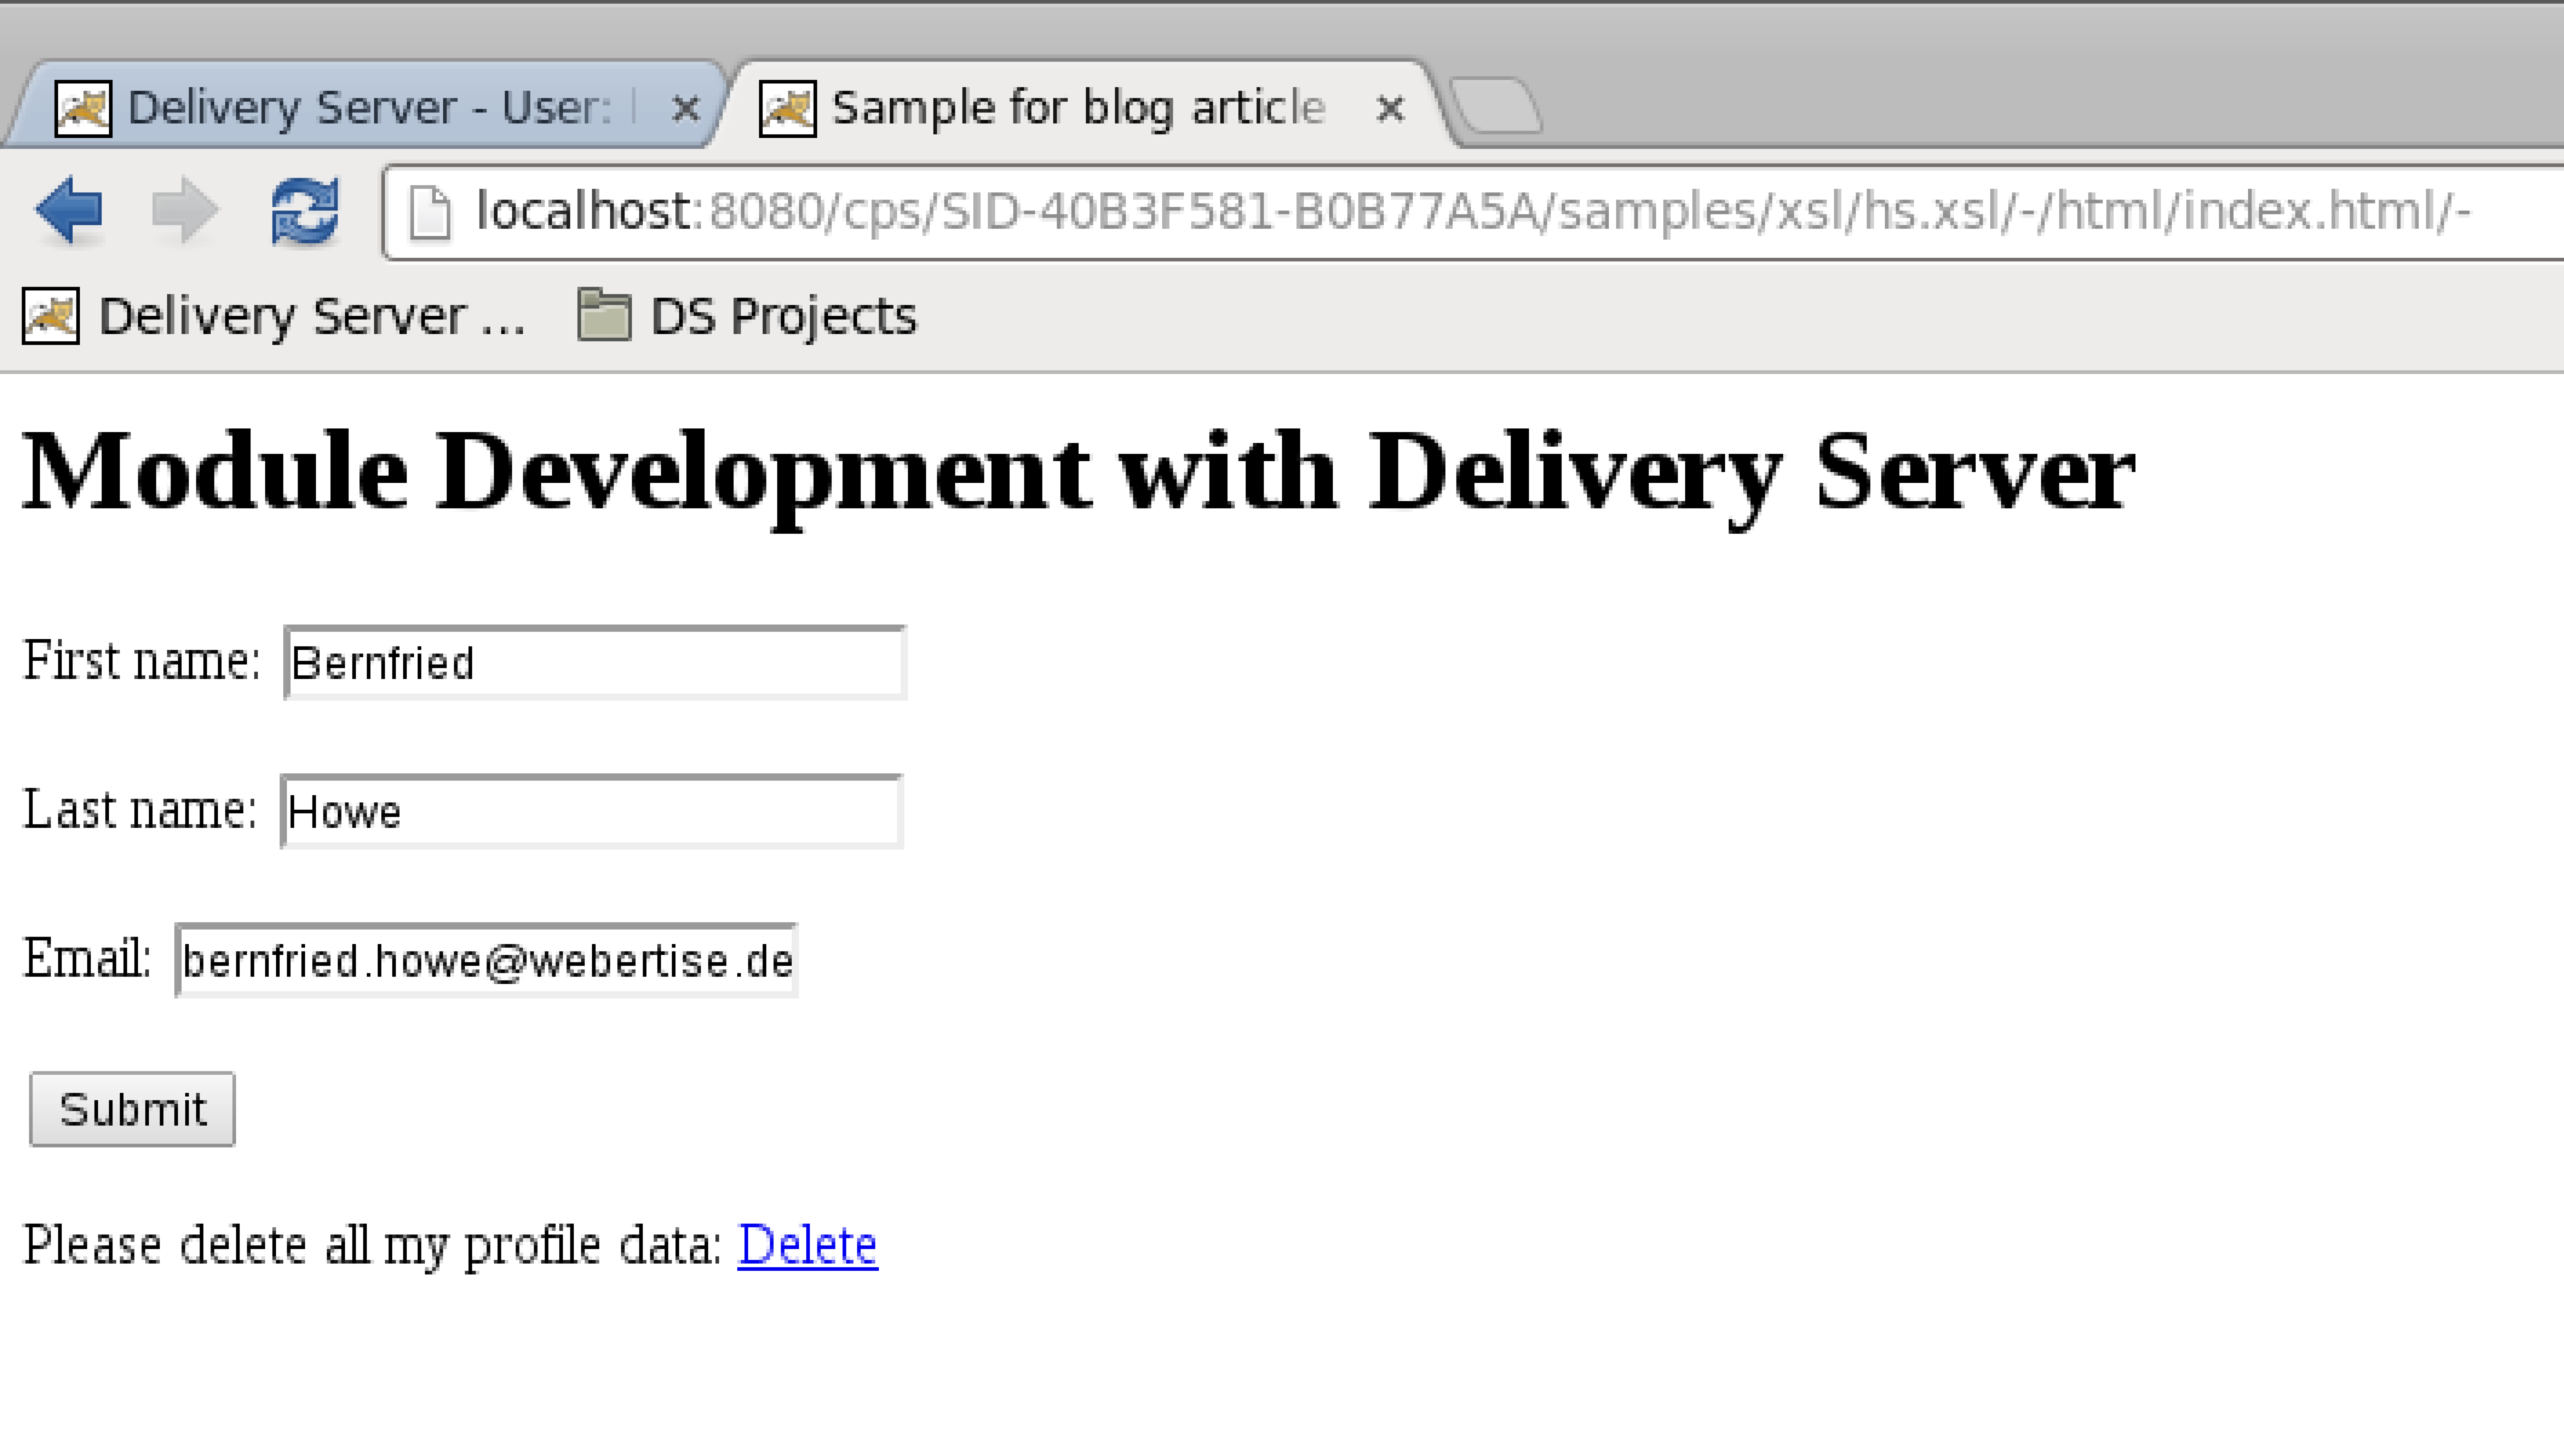
In this article we will create a little profile management module which allows the end user to store personal data to the WSM DS user profile (first name, last name, email). This module provides a create/update and delete action for the profile data.
The solution
The module architecture I will use is based on the MVC model and therefore consists of an controller, actions and views. I don’t use the Web Components feature of the WSM DS, but a similiar structure of content und content groups, which are created manually.
- Controller: The controller is represented by an xml content in WSM DS, It’s task is to identify the requested action from the incoming request and to load the required action(s) and views to create and show the result.
- Action: Every action is implemented as an xml content in WSM DS using DynaMents for the business logic.
- View: Every view is implemented as an xsl content in WSM DS rendering the xml output of the action(s) to HTML (or JSON, or whatever text format you need)
- Text Ressources: All localized text ressources will be provided separately as an XML content.
Naming conventions are very important to make the solution more structured and readable. Therefore I always used following conventions:
- Module name: mod<Name> e.g. modProfile
- Controller content name: mod<Module Name>Controller.xml e.g. modProfileController.xml
- Action content name: mod<Module Name>Action<Action Name>.xml e.g. modProfileActionShow.xml
- View content name: mod<Module Name>Action<Action Name>.xsl e.g. modProfileActionShow.xsl
Step 1: Let’s create a controller
First we need to know all actions of our module and if they produce xml for a view.
- Write: this action covers the create and update of profile data (no view required)
- Delete: this action deletes the profile data from the user profile (no view required)
- Show: this action shows the current data of the user profile (requires a view)
The xml of the controller stored as “modProfileController.xml” in content group “xml-actions” will look like this:
<modProfileController>
  <rde-dm:attribute mode="condition">
    <rde-dm:constraint>request:action eq "write"</rde-dm:constraint>
    <rde-dm:include content="xml-actions/modProfileActionWrite.xml" process-mode="execute"/>
  </rde-dm:attribute>
  <rde-dm:attribute mode="condition">
    <rde-dm:constraint>request:action eq "delete"</rde-dm:constraint>
    <rde-dm:include content="xml-actions/modProfileActionWrite.xml" process-mode="execute"/>
  </rde-dm:attribute>
  <rde-dm:attribute mode="condition">
    <rde-dm:constraint>request:xsl ne "no"</rde-dm:constraint>
    <rde-dm:if>
      <rde-dm:include content="xml-actions/modProfileActionShow.xml" stylesheet="xsl/modProfileActionShow.xsl"/>
    </rde-dm:if>
    <rde-dm:else>
      <rde-dm:include content="xml-actions/modProfileActionShow.xml"/>
    </rde-dm:else>
  </rde-dm:attribute>
</modProfileController>
Based on the Attribute DynaMent the request variable “action” will be checked and the related action xml is loaded. Every action which does not provide any result xml will be called with process-mode=”execute”. The action “show” will provide the view to represent the current state of the user profile. Therefore an xsl stylesheet is assigned to the “show” action which makes it to a so called PSX module. This kind of modules get their own caching behavior (typically Caching Time = 0, in order to get refreshed every time). The constraint “request:xsl ne ‘no'” is needed if you still want to be able to call the module without xsl(t) rendering. Just add a “?xsl=no to the url and the controller will return not rendered xml.
Step 2: The actions
As defined we need 3 actions for this module:
- modProfileActionDelete.xml: Removes the user attribute based on an Attribute-DynaMent. As we store the user profile data underneath a profile Attribute, we just need to delete this parent attribute.
<modProfileActionDelete>
  <rde-dm:attribute mode="delete" op="delete" attribute="user:profile"/>
</modProfileActionDelete>
- modProfileActionWrite.xml: Writes all data from the html form to the user profile. The validation is not considered in this example but should be part of this action. Return codes of validations should be written to Session attributes in order to consider them within the “show” action/view. Info: request attributes won’t work as the “show” action is an PSX module and executed separately from the other actions!
<modProfileActionWrite>
  <rde-dm:attribute mode="write" attribute="user:profile.firstname" op="set" value="[#request:firstname#]"/>
  <rde-dm:attribute mode="write" attribute="user:profile.lastname" op="set" value="[#request:lastname#]"/>
  <rde-dm:attribute mode="write" attribute="user:profile.email" op="set" value="[#request:email#]"/>
</modProfileActionWrite>
- modProfileActionShow.xml: Shows the current profile data from the WSM DS user and also error or info messages of the other actions based on return codes. This action is responsible for the view and gets all localized text ressources from the modProfileTextRessource.xml.
<modProfileActionShow>
  <rde-dm:include content="xml-textresources/modProfileTextResources.xml"/>
  <profile-values>
    <rde-dm:attribute mode="read" attribute="user:profile.firstname" tag="firstname"/>
    <rde-dm:attribute mode="read" attribute="user:profile.lastname" tag="lastname"/>
    <rde-dm:attribute mode="read" attribute="user:profile.email" tag="email"/>
  </profile-values>
</modProfileActionShow>
Step 3: The view
For the profile module we just need one view (xsl content) for the “show” action:
<xsl:stylesheet>
  <xsl:template match="modProfileActionShow">
    <form action="/cps/rde/SID-F3C17D8B-1ED03A59/owug_2015/hs.xsl/{$rdeXmlID}" method="post">
      <input type="hidden" name="action" value="write"/>
      <p><xsl:value-of select="modProfileTextResources/labelFirstName"/>:
         <input name="firstname" value="{profile-values/firstname}"/></p>
      <p><xsl:value-of select="modProfileTextResources/labelLastName"/>:
         <input name="lastname" value="{profile-values/lastname}"/></p>
      <p><xsl:value-of select="modProfileTextResources/labelEmail"/>:
         <input name="email" value="{profile-values/email}"/></p>
      <input type="submit" name="submit" value="Submit"/>
      <p>Please delete all my profile data:
         <a href="/cps/rde/SID-F3C17D8B-1ED03A59/owug_2015/hs.xsl/{$rdeXmlID}?action=delete"><xsl:value-of select="modProfileTextResources/buttonDelete"/></a>
      </p>
  </xsl:template>
</xsl:stylesheet>
The text ressources can be accessed as they have been included into the “show” action. The action parameter of the form uses the /cps/rde/SID-F3C17D8B-1ED03A59/owug_2015/hs.xsl/{$rdeXmlID} Placeholder which automatically creates a full WSM DS url for the parent page. Currently the result url of the placeholder has an /- at the end of the request uri, which should not be the case. I will check that later.
Step 4: The Text Resources
This xml file is needed in order to separate all localized text resources from the view.
<modProfileTextResources>
  <labelFirstName>First name</labelFirstName>
  <labelLastName>Last name</labelLastName>
  <labelEmail>Email</labelEmail>
  <buttonDelete>Delete</buttonDelete>
</modProfileTextResources>
The text resources are typically maintained in WSM MS in order to use the translation capabilities. Later on the modProfileTextResources.xml is published in all requiredlanguages to the WSM DS. We have now a complete WSM DS Module which can be included in any HTML page using the following Statement:
<rde-dm:include content="xml-actions/modProfileController.xml"/>
If the request parameter “action” is not set, the “show” action is executed and the current state of the profile is presented. If the “delete” or “write” action is called, the corresponding DynaMents are called and finally the “show” action presents the manipulated profile data.
All xml and xsl content can also be created as WSM MS Content Classes in order to
- maintain links between Controller and Views and Actions
- handle links to other pages
- use the translation management capabilities for Text Resources
- have a versioned backup which can be published to WSM DS nodes any time
- transport changes via WSM MS tree export/import
It’s up do you if you accept some kind of redundancy to get the described advantages.
This is my first blog article and I would be glad to get feedback.
Source: Module Development with Delivery Server
© copyright 2012 by Bernfried Howe